Application Walkthrough
A tour of the app, screen by screen — from browsing stories to creating them with AI. Click any image to see it full size.
1 Browsing and Reading↑
1.1 The Story Gallery
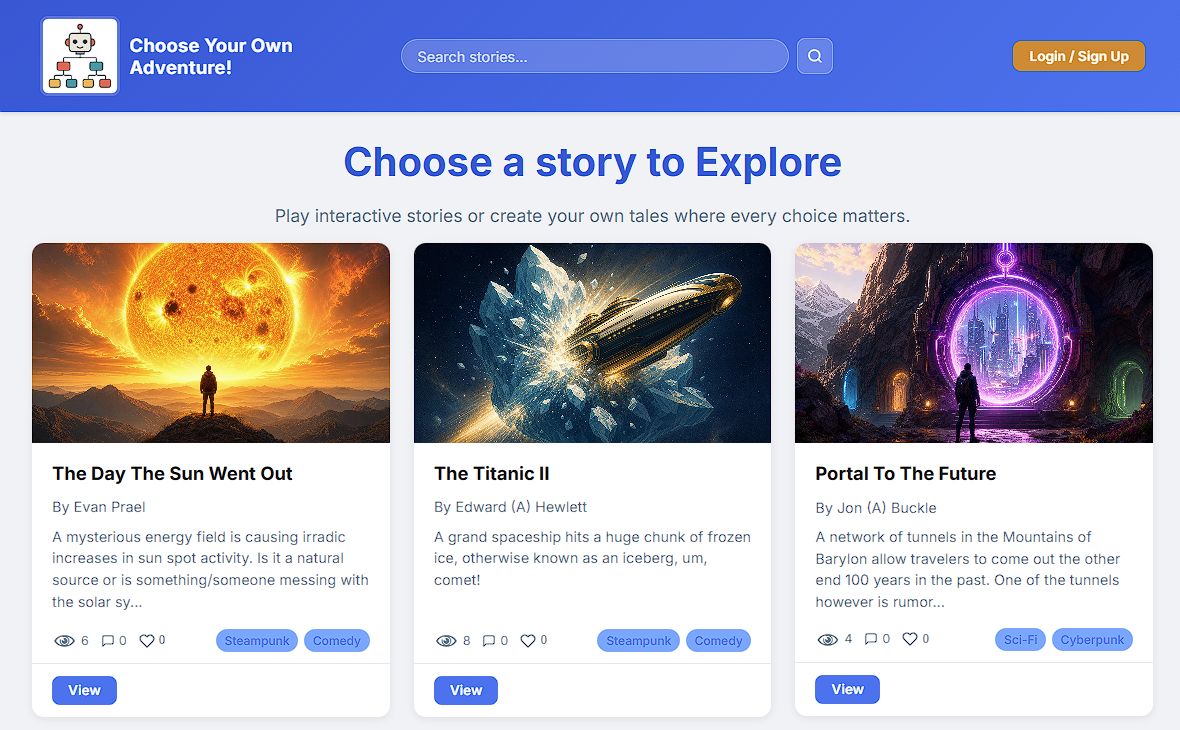
The home page is a gallery of published stories. Each card shows a cover image, the title and author, and quick stats: likes, average star rating, and views.
1.2 The Story Summary Page
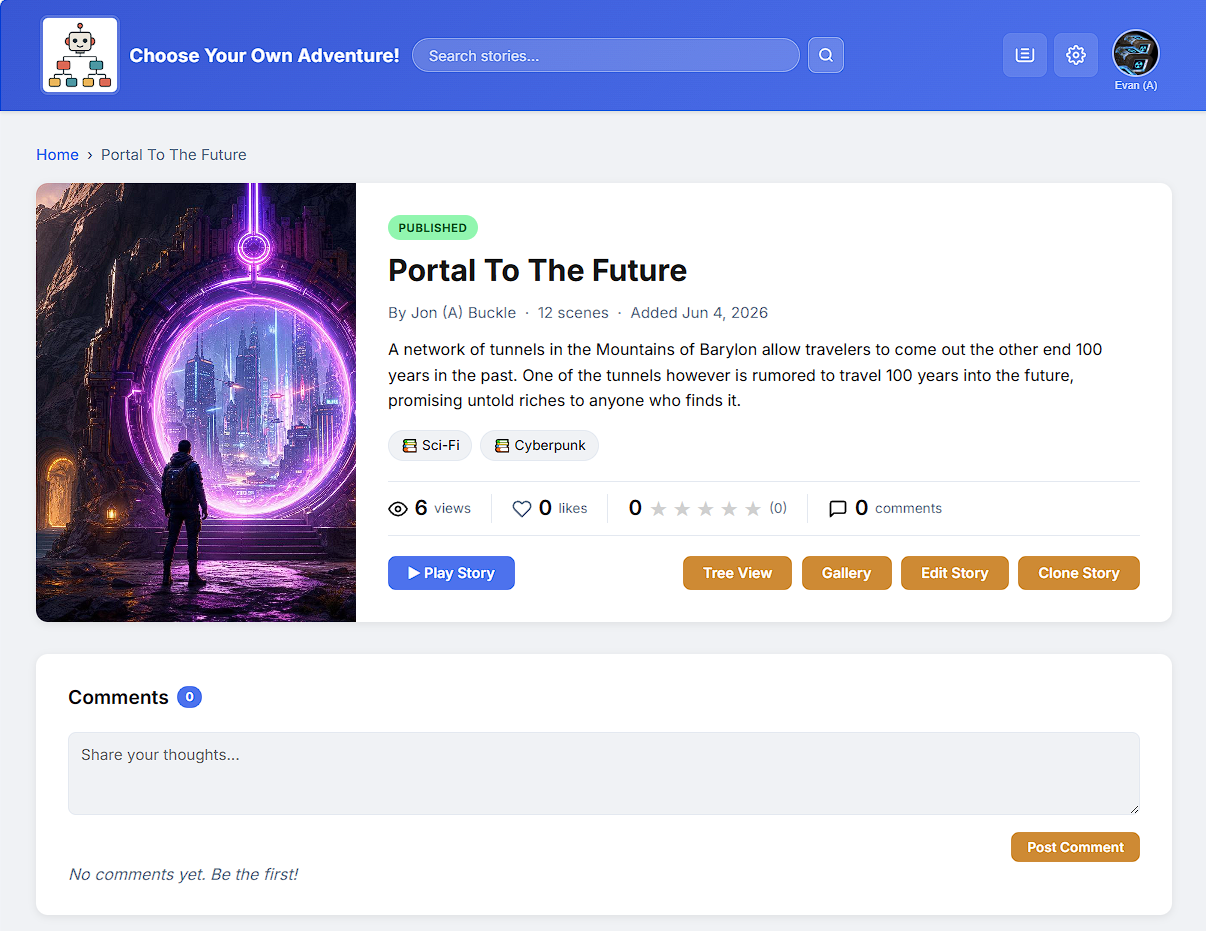
Clicking a story opens its summary page first. This is new in the upgrade. It shows the cover, the description, the stats, and the comments — so a reader can preview a story before playing. There are Play and (for the author) Edit buttons.
1.3 Playing a Story
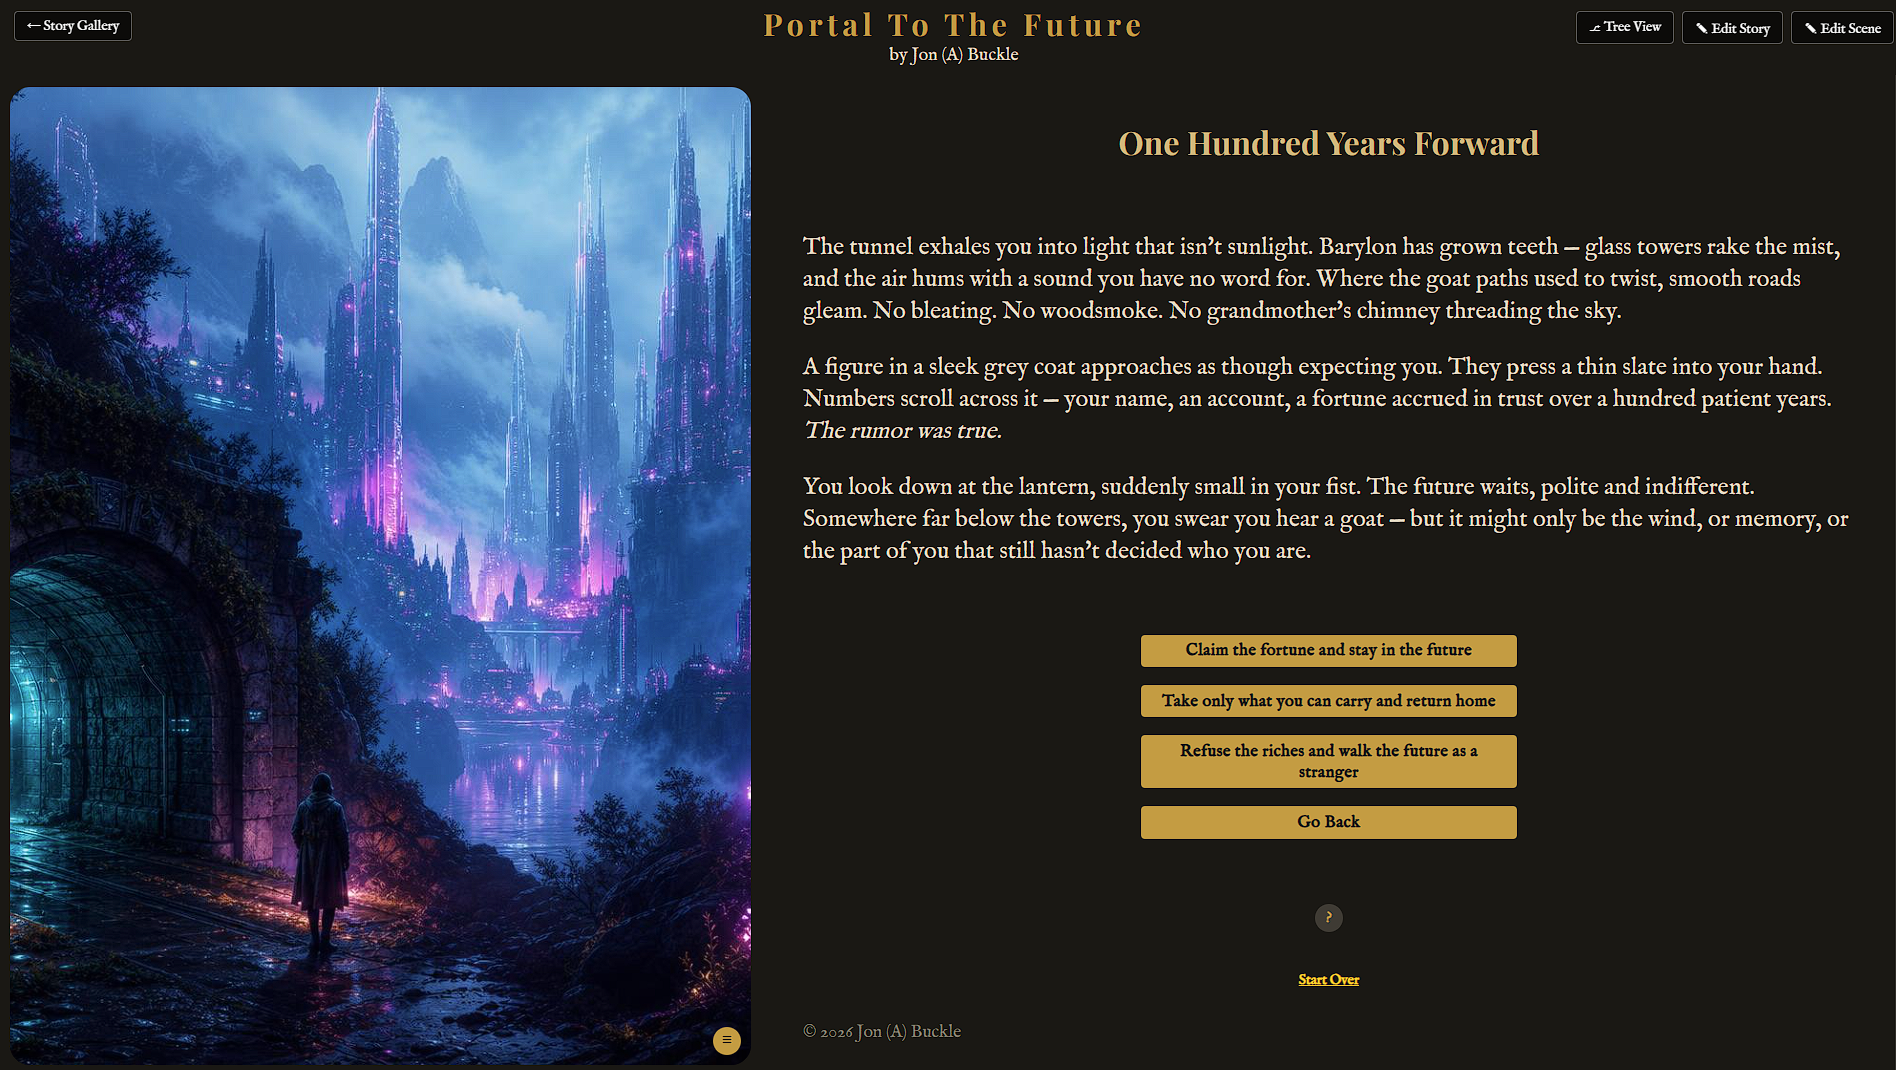
The reader sees one scene at a time. After reading the scene, the reader clicks a choice to jump to the next one. Different choices lead to different endings.
2 Editing a Story↑
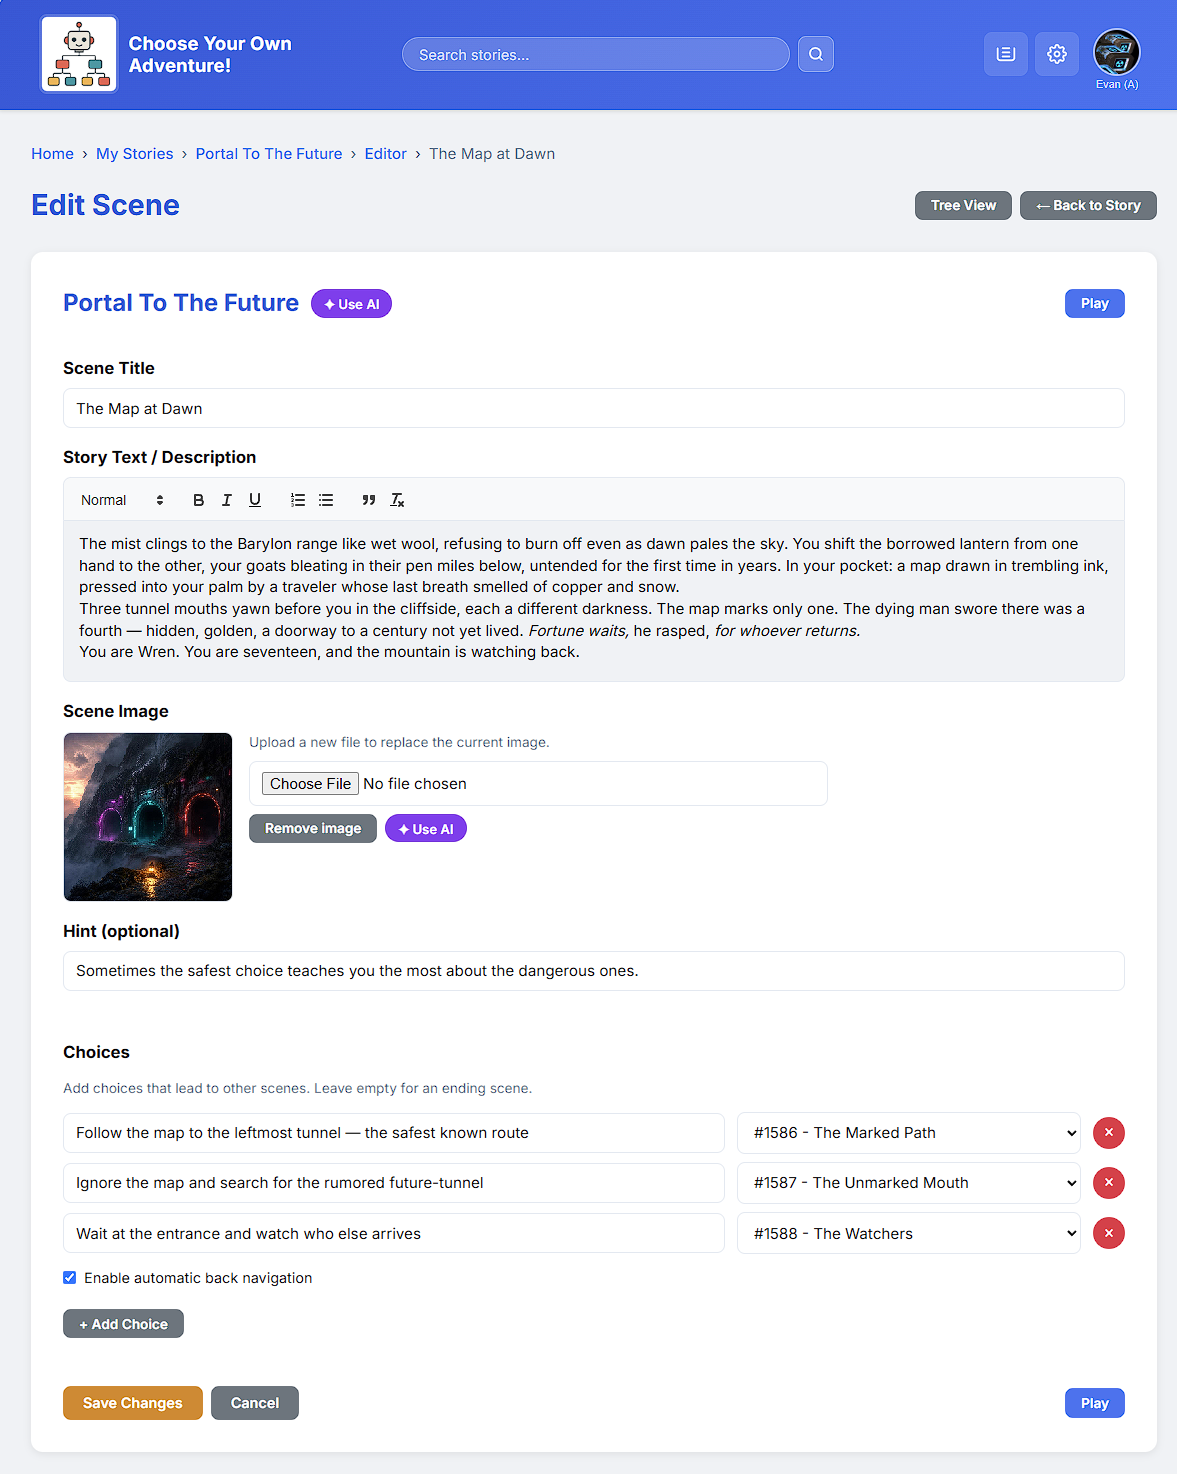
2.1 The Scene Editor
Authors build stories in the editor. Each scene has a title, its text, an image, and a list of choices. Every choice links to another scene.
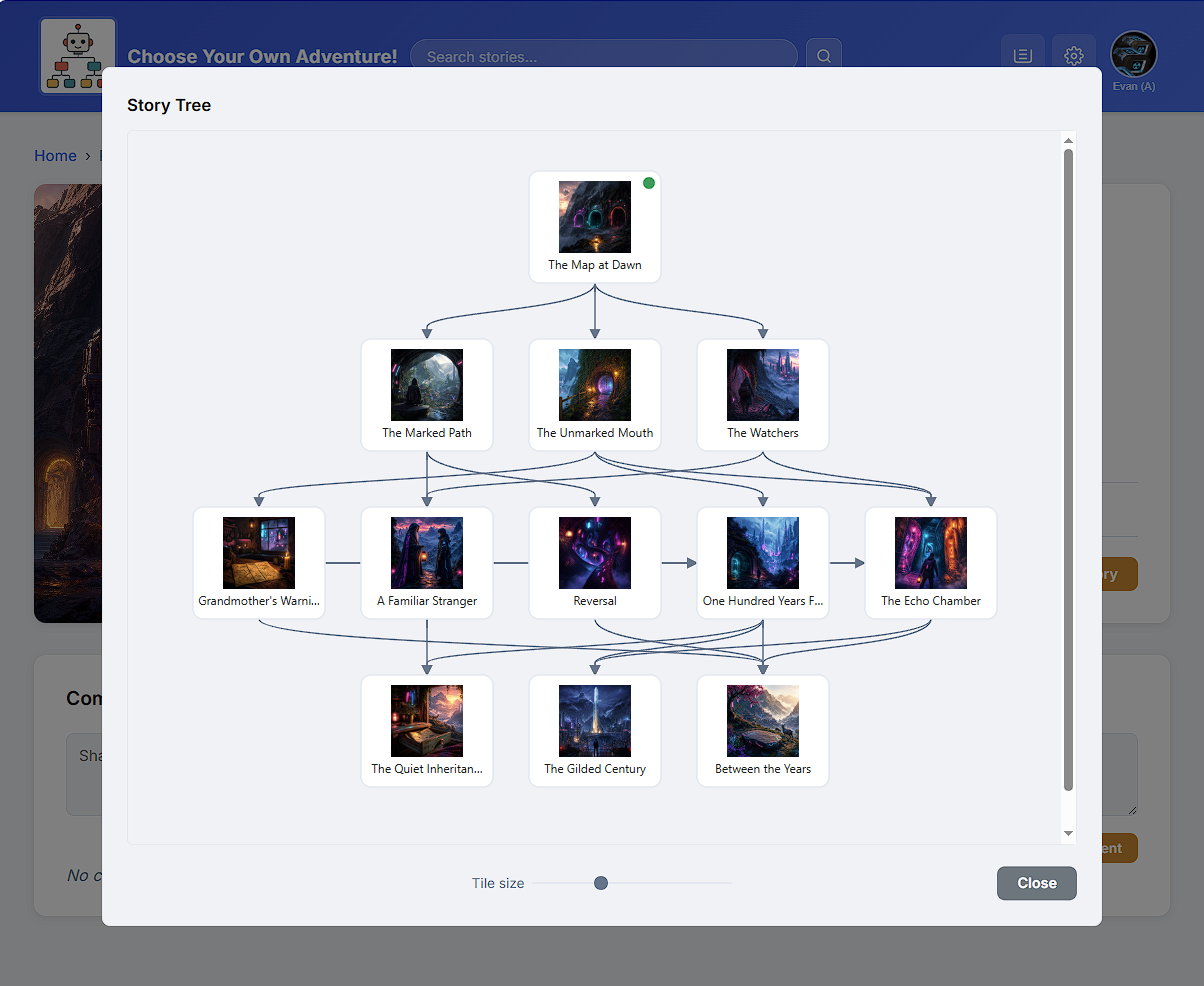
2.2 Tree View
Sometimes it's helpful to know which scene connects to which other scene. Tree View maps every scene and the choices that connect them, so the author can spot dead ends and missing links.
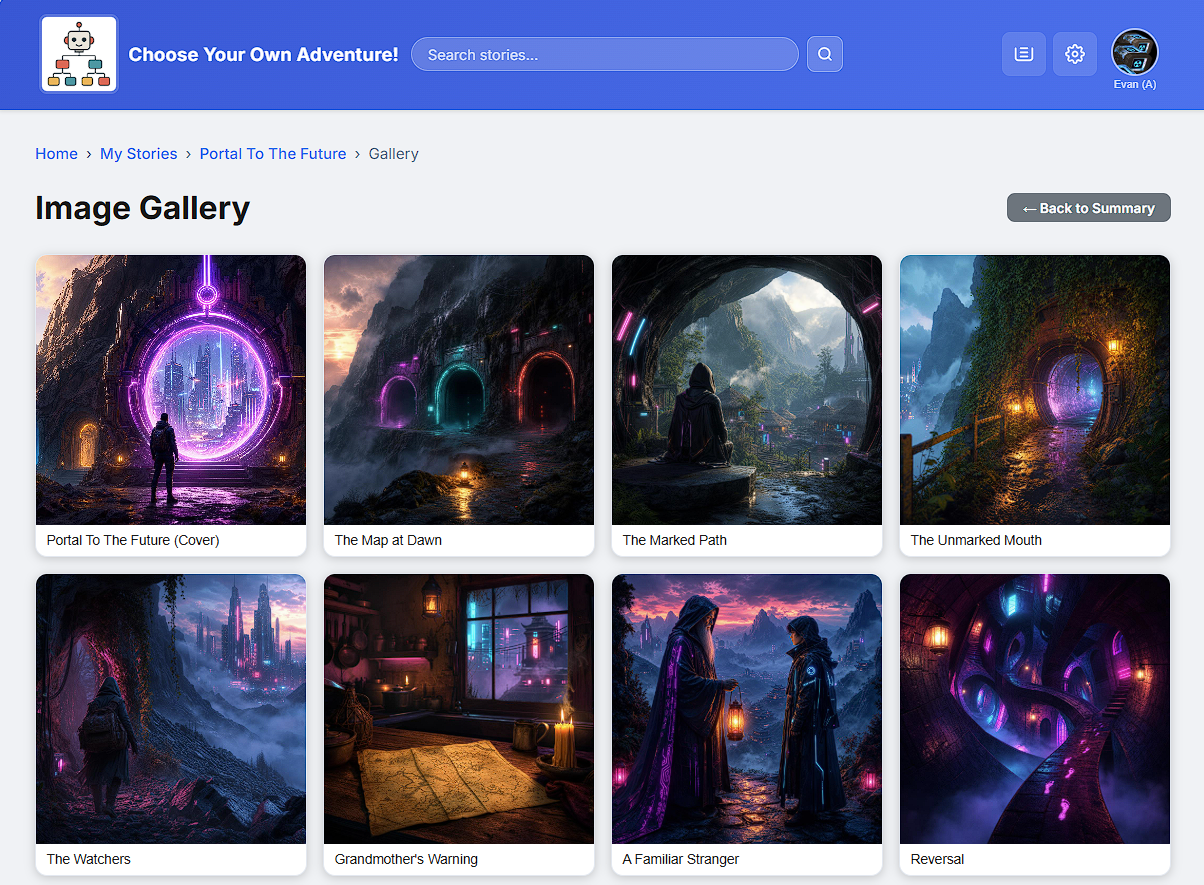
2.3 Gallery View
Gallery View shows all the story's images in one place — the cover first, then every scene that has artwork. Clicking an image opens a larger view.
3 Creating Stories↑
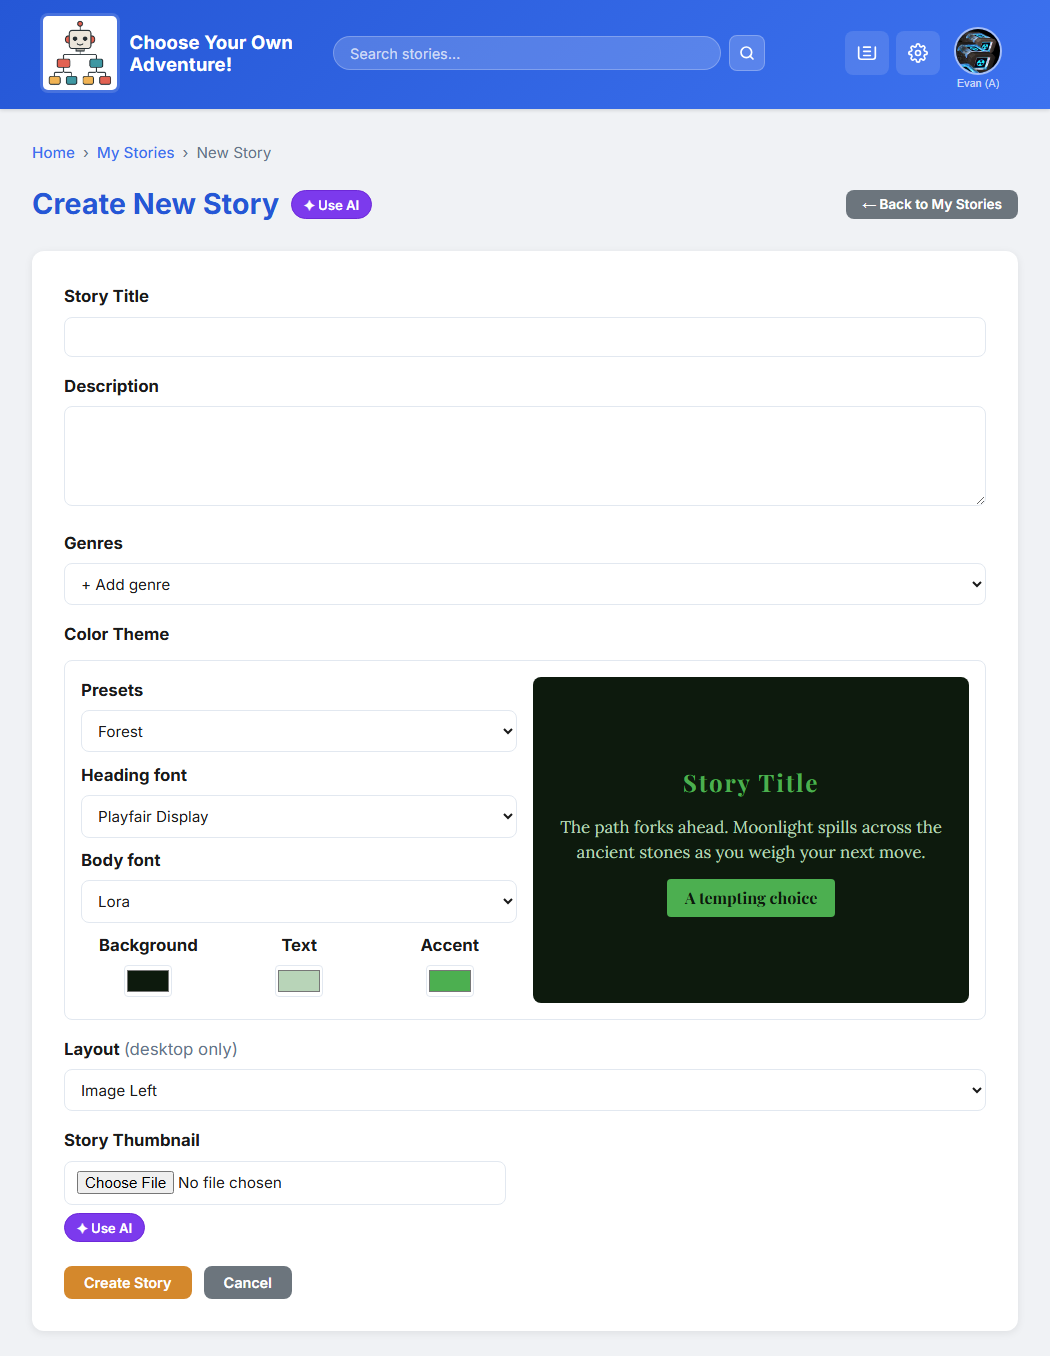
3.1 Starting a New Story by Hand
Authors can build everything by hand, or with AI assistance. The "create by hand" path starts with a blank story and lets the author add scenes one at a time.
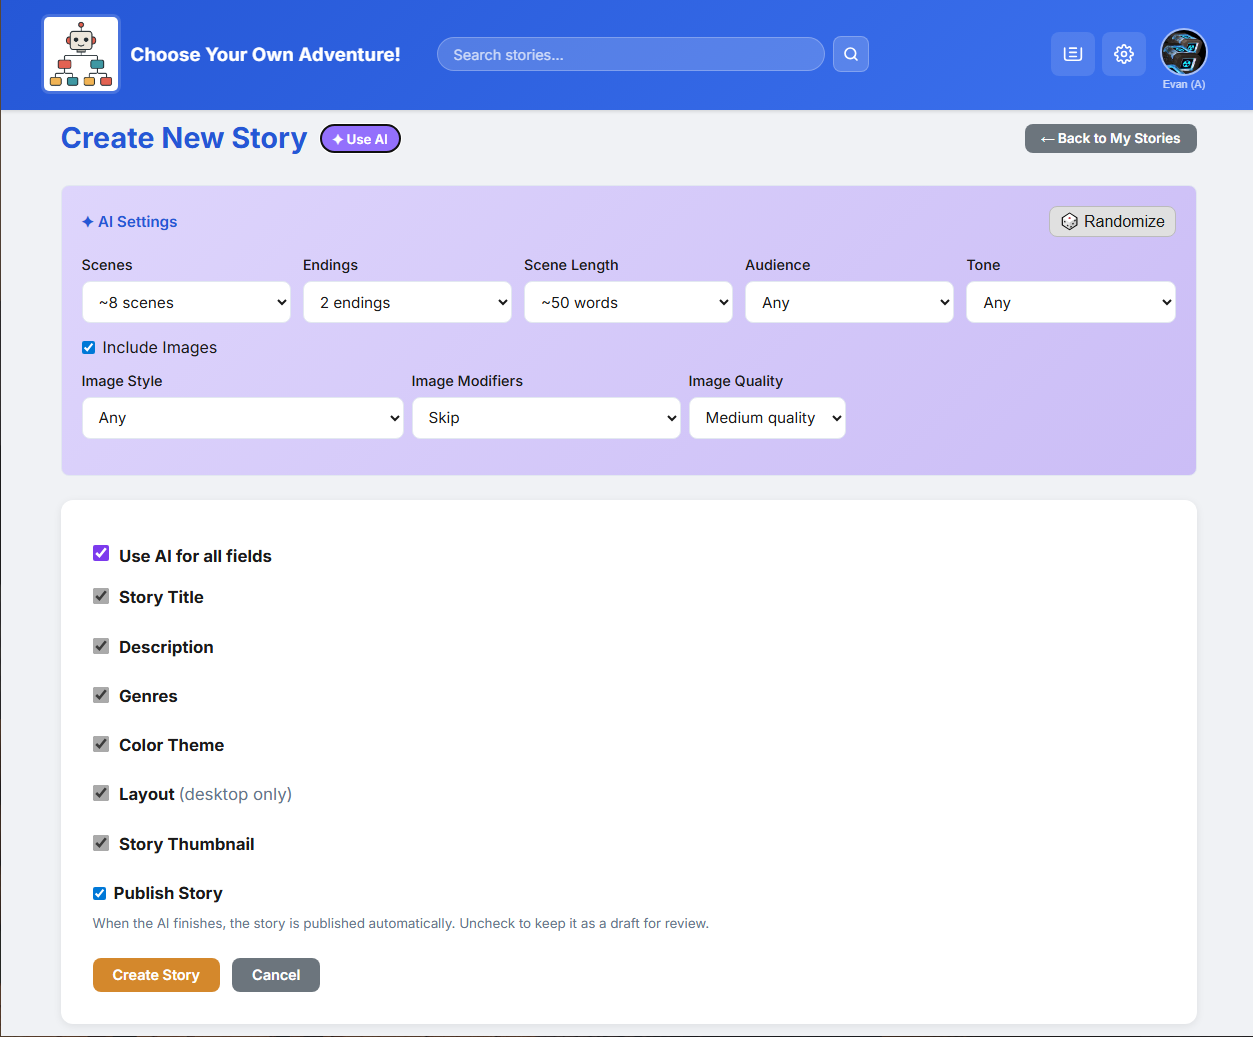
3.2 Creating with AI
The AI path is where the upgrade shines. From one screen the author can ask the AI for an image, a single scene, or an entire branching story. They set a few options — like genre, tone, and length — and the AI does the writing and drawing.
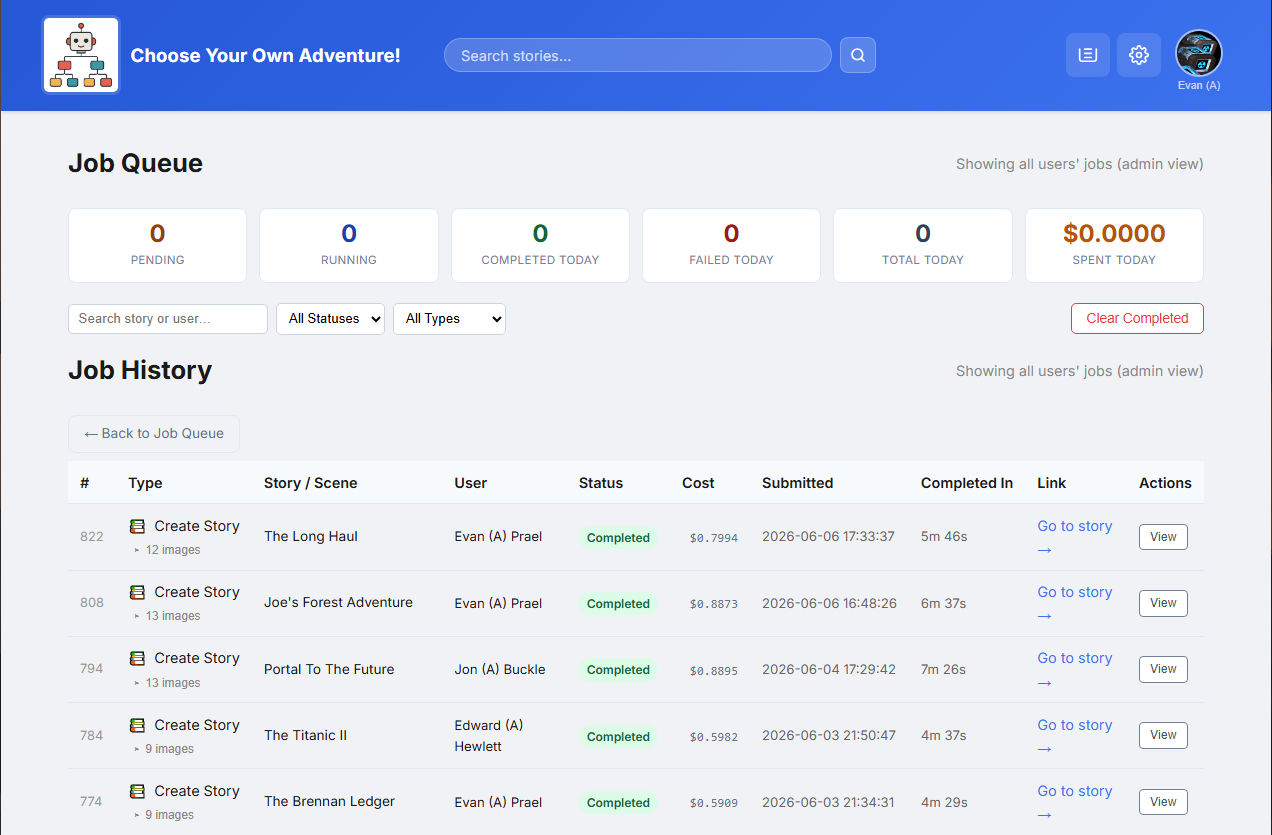
3.3 The Job Queue
AI work can take a while, so it runs in the background as "jobs". The job queue page lists every job and its status — pending, running, completed, or failed — so the author can watch the progress and retry anything that fails.
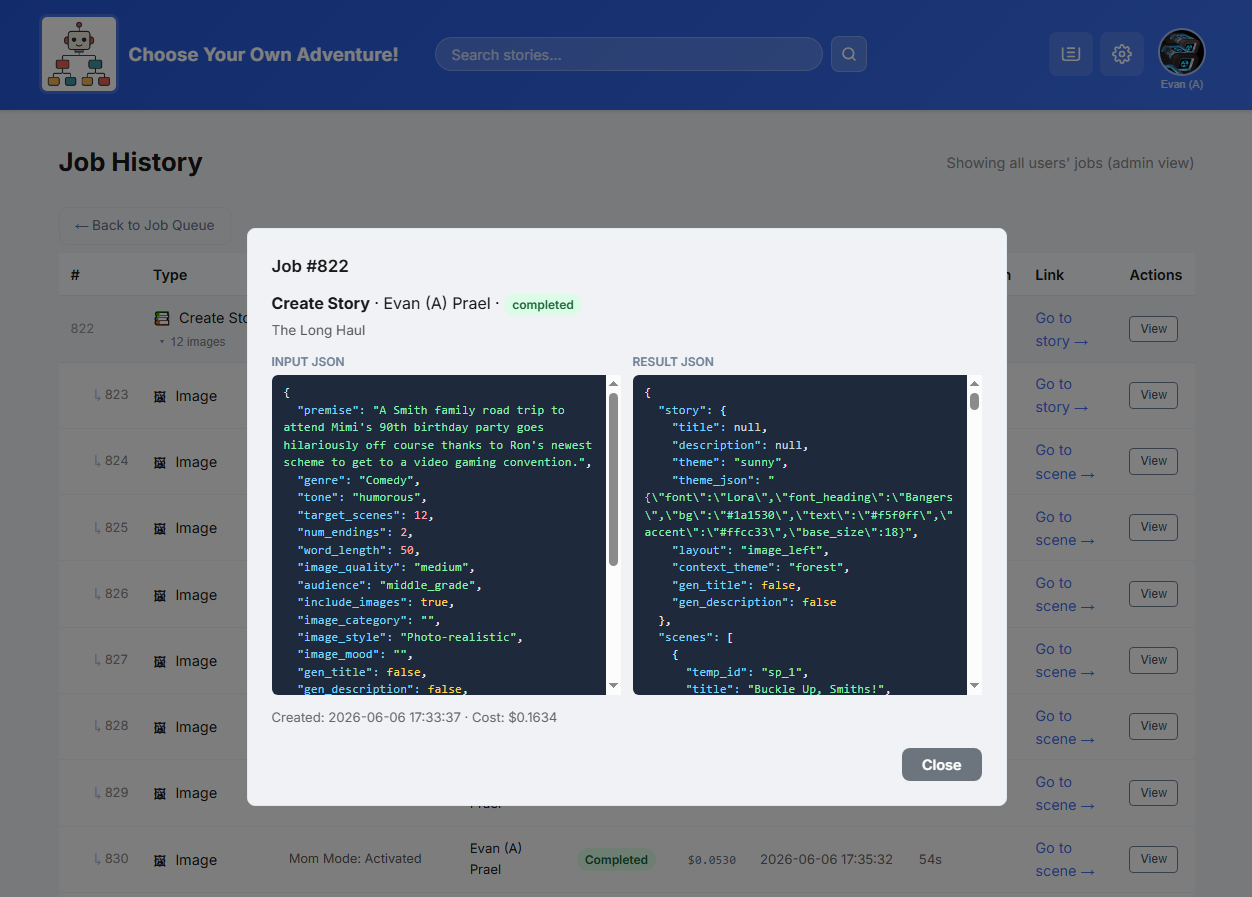
Each job can be opened to see exactly what was sent to the AI and what came back. This was a huge help when fixing problems.
4 Site Administration↑
Admins have extra screens for running the site. They fall into three groups: site settings, AI settings, and user management.
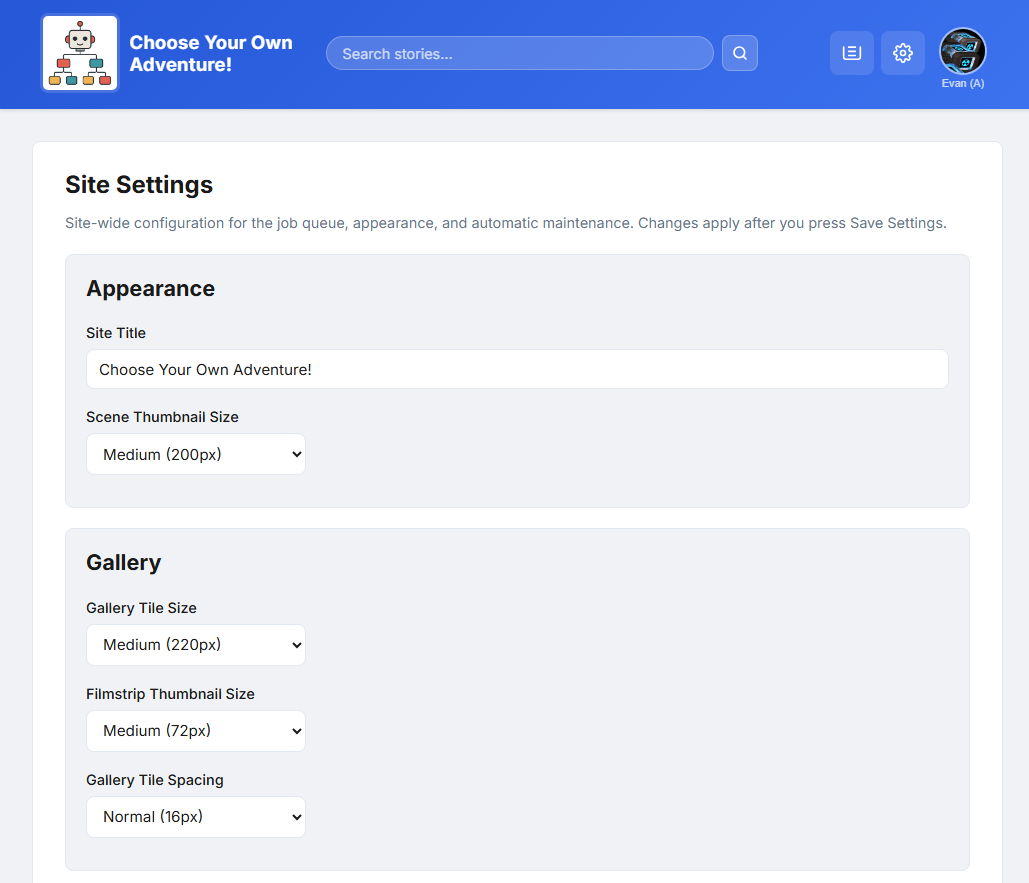
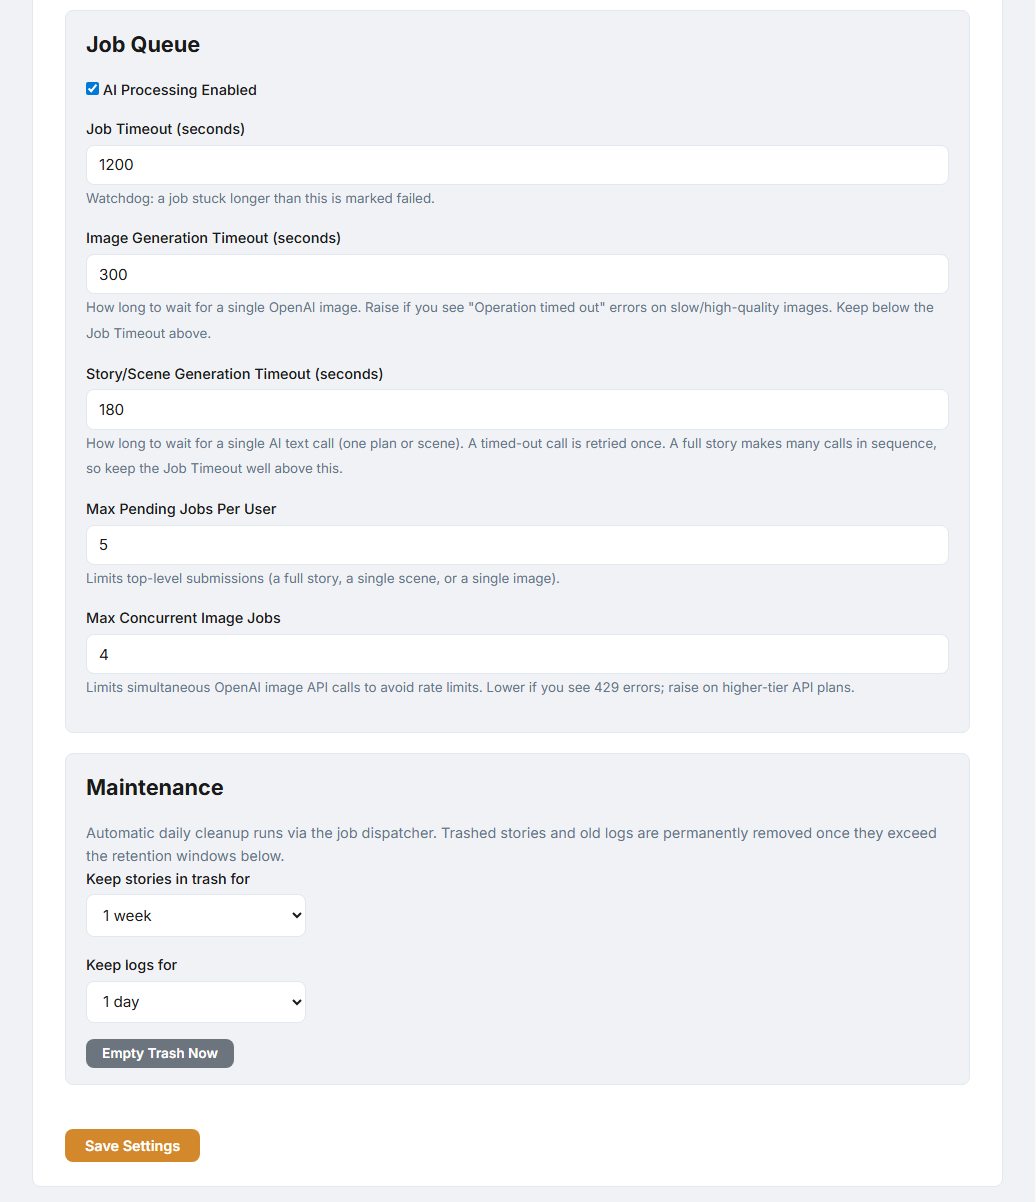
4.1 Site Settings
The site settings cover general, site-wide options — things like gallery sizes and timeouts.
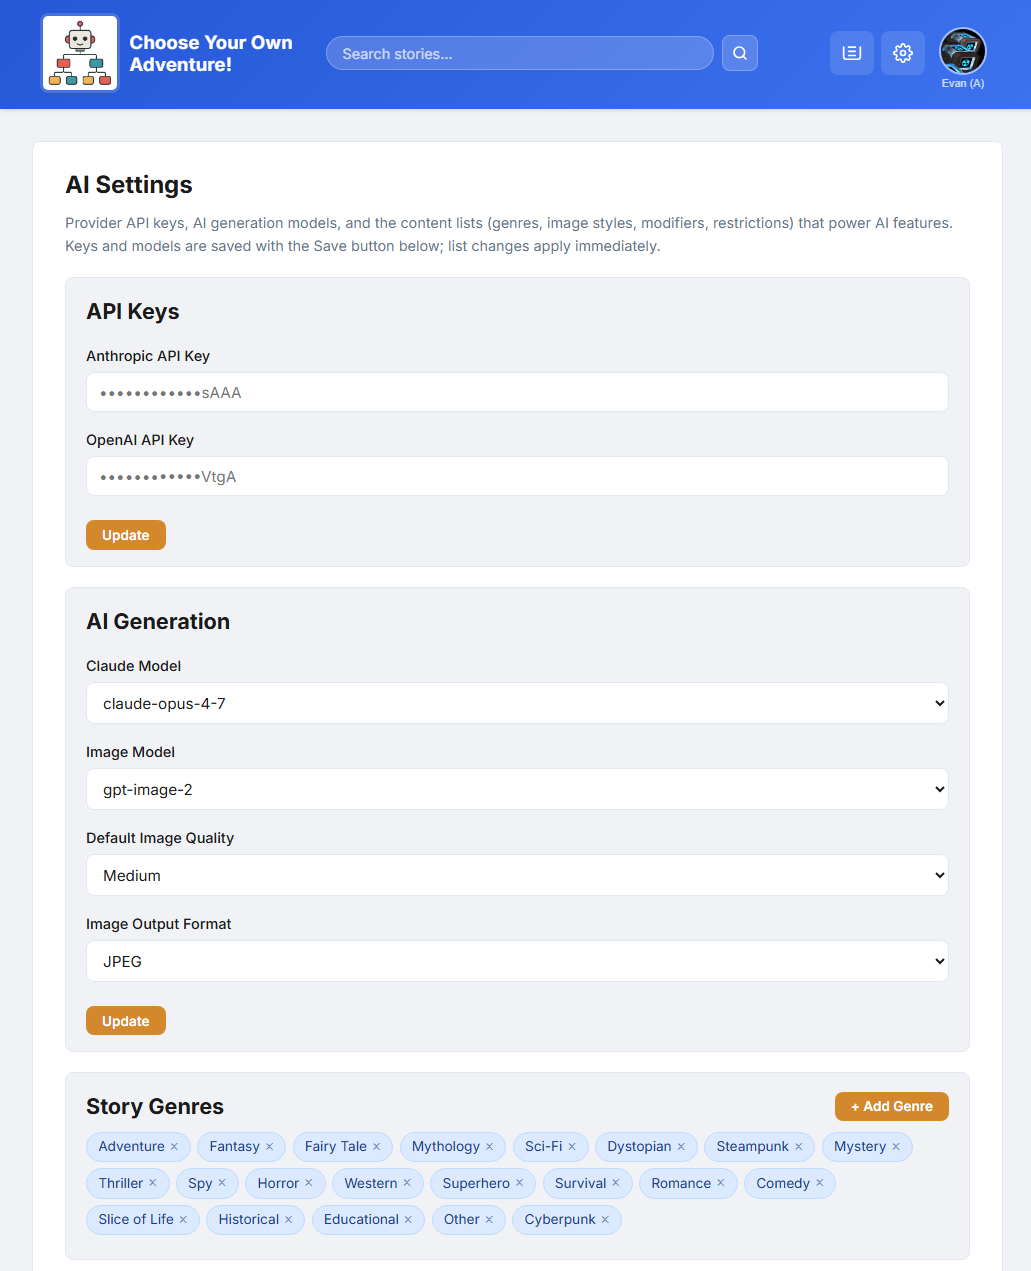
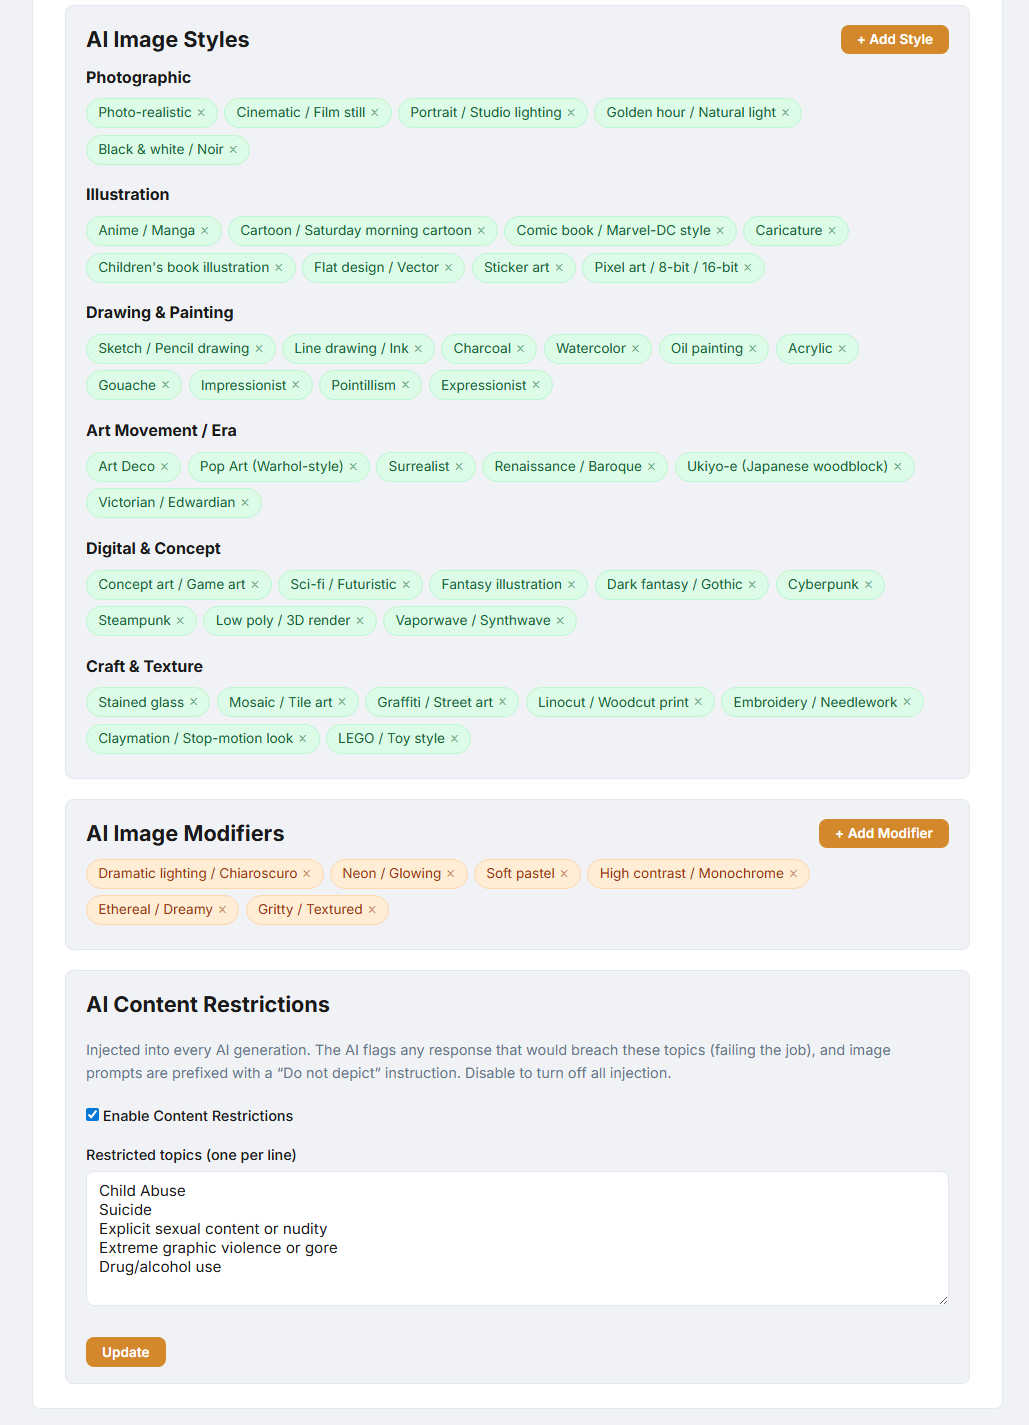
4.2 AI Settings
The AI settings control which AI models are used, the image quality, and the limits on how many jobs can run at once.
4.3 User Management
Admins can view and manage every user account from one place.
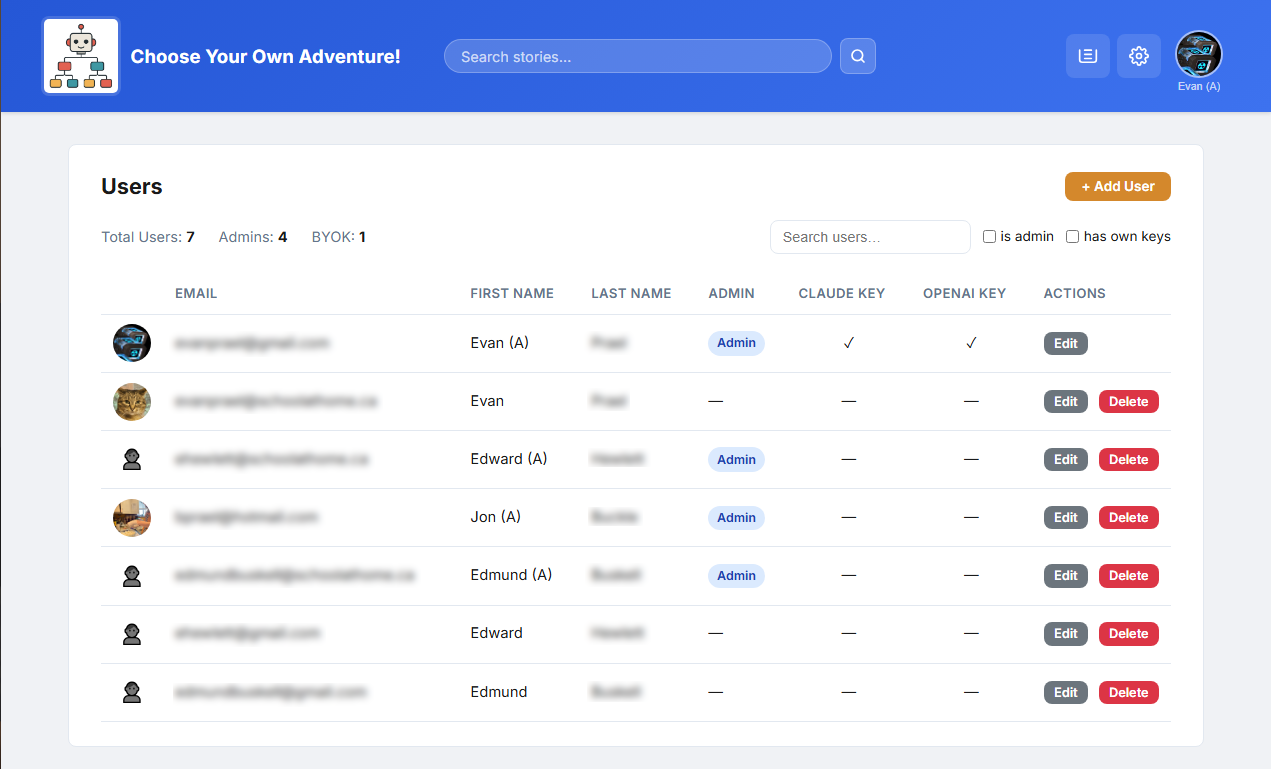
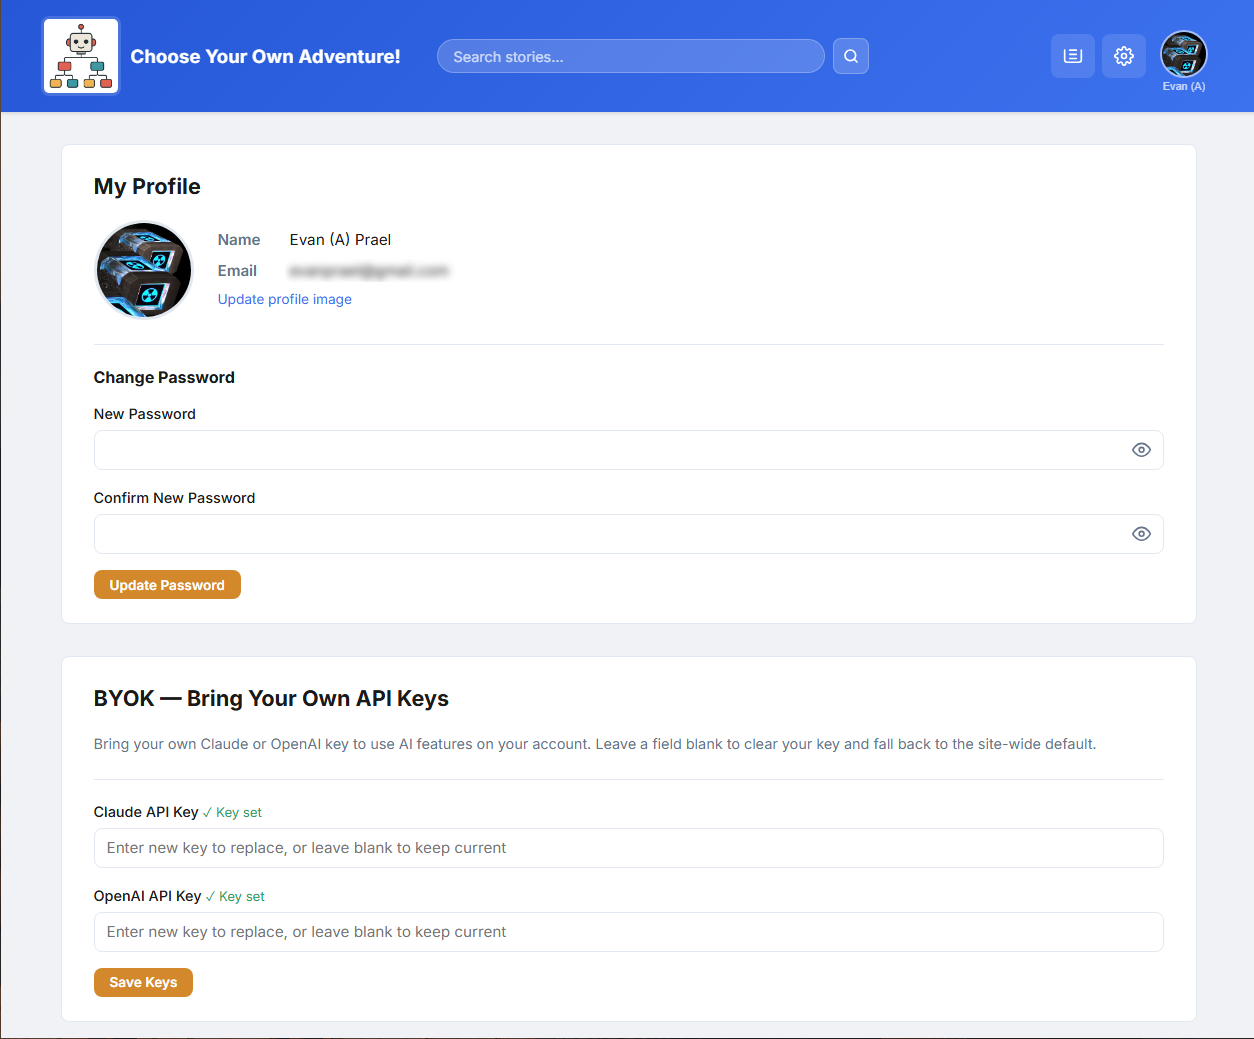
Users can also bring their own AI keys — called "BYOK", short for "bring your own key". On their profile page, a user can paste in their own AI service key so their AI usage is billed to them instead of the site. This lets heavy users keep creating without using up the site's shared limits.